

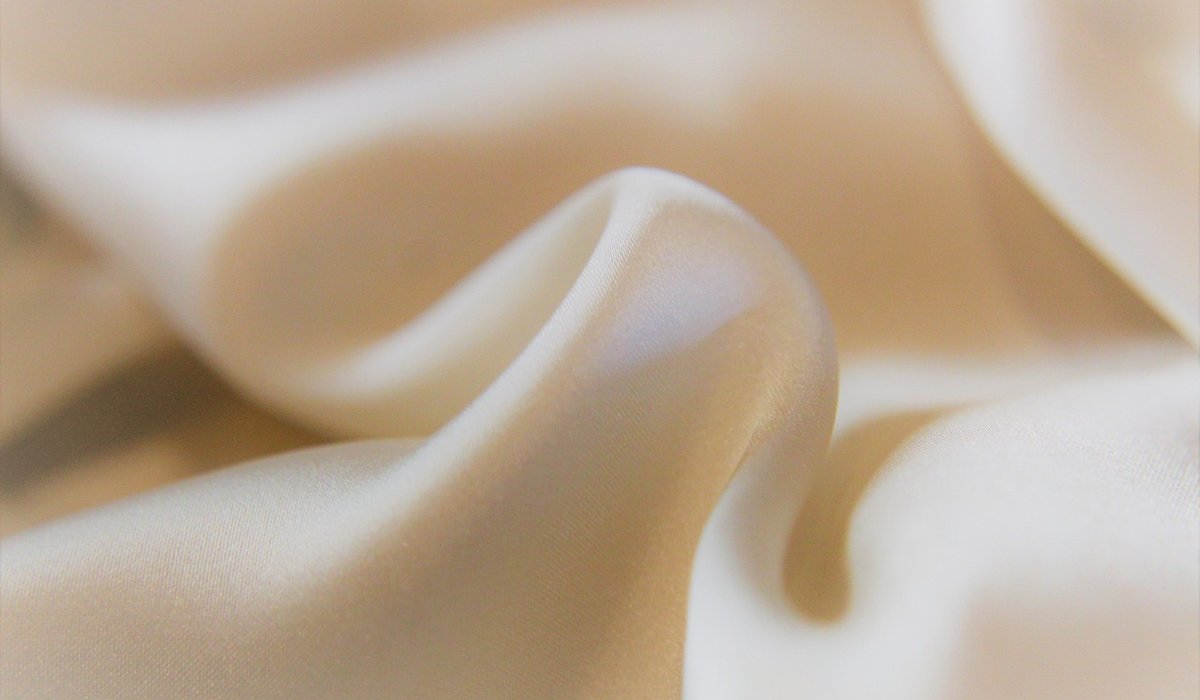
An old colour, a new purpose
Natural indigo dyeing and slow stitching share a certain temperament. Both ask you to work at a human pace, to accept variation, and to make things that improve with handling rather than wearing out. A beeswax food wrap sits neatly at the meeting point of those ideas: a scrap of indigo-dyed cotton, brushed or ironed with wax until it holds a crease around a bowl, then used for months instead of thrown away after a single sandwich.
What makes indigo cotton especially good here is the depth of colour. A well-rinsed indigo vat leaves a blue that shifts in the light, and even the paler dips — the first and last pulls from the vat — look considered rather than leftover. Wraps are forgiving, too. They do not need straight seams, matching pattern repeats, or any of the precision that a garment demands. If you have offcuts from a shibori project, a patchy test piece, or a strip cut from a worn shirt, you already have everything the fabric side of this project requires.
What you will need
- Indigo-dyed cotton, well rinsed, roughly 20–35cm squares
- Beeswax, grated or in pastilles
- Jojoba oil (or another light, food-safe oil such as sweet almond)
- Pine resin, optional but it adds grip
- Baking parchment and an old towel or tea towel
- An iron, or a heatproof bowl and a pastry brush kept for craft use
- Pinking shears or ordinary scissors
- A small kitchen scale accurate to a gram
Preparing the indigo cotton
Rinse the fabric in cool water until the water runs clear. Indigo sits on the surface of the fibre rather than bonding inside it, so a freshly dyed piece will crock — it will transfer colour to your hands, your ironing board and, if you skip this step, your cheese. Several cool rinses, a gentle wash with a teaspoon of mild soap, and a final rinse will settle it. You do not need it perfectly colourfast; the wax layer will seal most of what remains, but a wrap that bleeds blue into a loaf of bread is a disappointment you can easily avoid.
Choose a closely woven, light-to-medium weight cotton: quilting cotton, poplin, or a fine canvas. Loose weaves let wax pool unevenly and tear at the corners. Synthetics and blends resist the wax, so keep to pure cotton or linen. Press the fabric flat while it is still slightly damp, then cut your squares with pinking shears if you have them — the zigzag edge frays far less over a lifetime of folding. Twenty centimetres suits a sandwich or a cut vegetable; thirty centimetres covers a small bowl; thirty-five to forty centimetres will wrap a loaf or a bunch of herbs.
Mixing the wax
A reliable all-purpose blend, by weight, is 60% beeswax, 20% pine resin and 20% jojoba oil. The resin gives the wrap its tackiness, the oil keeps it supple in a cold kitchen, and the beeswax does the sealing. If you would rather keep things simple, skip the resin and use four parts beeswax to one part jojoba; the wraps will be slightly softer and less clingy but perfectly serviceable.
Weigh out what you need per wrap and keep the rest in a jar. A 25cm square takes roughly 12–15g of the blended wax, and it is far easier to grate a block of beeswax first than to guess at quantities later. Grated wax melts evenly and spares you the blunt grater and sticky fingers that come with hacking at a cold block.
Two ways to apply it
The iron method is the quicker of the two. Lay an old towel on your ironing board, place a sheet of baking parchment on top, and set your fabric square on the parchment. Scatter the grated wax blend across the cloth as evenly as you can, then lay a second sheet of parchment over everything. Press with a medium-hot iron, no steam, working from the centre outwards. The wax melts and wicks through the weave within about thirty seconds. Lift the top parchment to check for dry patches, add a pinch more wax, and press again.
The brush method gives you more control on larger pieces or on fabric with a loose or slubby texture. Melt the wax blend in a heatproof bowl set over a pan of simmering water, then brush it onto the fabric, which should be laid flat on baking parchment over a towel. Work in thin coats, brushing in one direction, then lay a sheet of parchment on top and run a warm iron over the whole thing to even it out. Both methods finish the same way: peel the wrap away from the parchment while it is still warm, hold it by two corners, and let it cool and cure on a drying rack for a few hours. It will feel slightly tacky at first and settle overnight.
Using and caring for your wraps
These wraps are not a replacement for a sealed container when it comes to raw meat or fish, but they are excellent for cheese, bread, cut fruit and vegetables, and covering bowls in the fridge. Warm hands make them pliable; as they cool they hold their shape around the rim of a bowl or the fold of a sandwich.
Wash them in cool water with a little washing-up liquid and a soft cloth, rinse, and hang to dry. Never use hot water, a dishwasher, a microwave, or a hot pan — all of these will strip or melt the wax. When a wrap starts to look tired, which typically happens after a few months of regular use, simply lay it out and top it up with another light grating of wax and a press of the iron. The indigo will soften and fade with each washing, and that is entirely in keeping with the spirit of the thing: a piece of cloth that carries a record of its use, folded again and again around the everyday.





John Doe
14 January, 2022Having no content in post should have adverse..
Chauffina Carr
10 April, 2022We use these tests all time! Killer stuff!
Jim Séchen
16 July, 2022Thanks for all the comments, everyone!